How to convert VHS tapes to DVD format?
You are likely to have the boxes of home video
VHS tapes that might contain different events of your life, exclusive
musical gigs filmed or some other incredible things you witnessed
years ago. It's time to breathe new life to them and bring them up to
date.
- Step 2: Connecting VHS recorder/player to the computer. You need to use a video capture device as a go-between:
- If you use an external video capture board supplied with RCA and S-Video jacks, the best way to link the devices is to connect the VHS recorder/player S-Video output with the video capture board S-Video input using the corresponding cable so to relay a video signal. To relay an audio signal use an RCA cable, connecting your VHS recorder/player RCA output with the video capture device RCA input but employing white and red jacks only. And then use a USB cable to connect the external video capture board to the computer USB port.
- If you have a DV-camera and your computer system is supplied with an IEEE 1394 port then connect your VHS recorder/player to the DV camera just in the same way as it has been described above and then connect the DV camera IEEE 1394 port marked as DV In-Out with the computer IEEE 1394 port using the corresponding cable.
Attention!
Actions relating to connecting devices should be done when they are
off.
For all the details concerning the possible ways of
connecting devices, please, refer either to the User Manuals bundled
with them or manufacturer support team.
- Step 3: Launch AVS Video Recorder and select video format

Make sure you work with the Capture
tab. By default output video format is set to Recommended
(MPEG-2), since your final goal is to have your video in DVD format,
that suits fine although there is no reason why you should not select
Native or
MPEG-2
(with some other presets):


- Step 3: Assign an output folder
Now define where the captured video should be
saved to. Click from the Output path
section:


- Step 4: Define video device input
Switch to the Settings
tab. Drop down the Video Device Input control and
choose either the Composite option in case your VHS player is
connected to the capture device using an RCA input or the S-Video
option if you preferred an S-Video jack:


- Step 5: Start Capture
Note:
before starting capture switch your VHS recorder/player on and check
whether a VHS cassette is inserted into its compartment. If you use a
DV camera as a capture device then:
- Switch the DV camera on.
- Make sure its cassette compartment does not contain a cassette.
- Enable the DV camera AV
to DV feature (refer to User manual
for details) and then switch it to playback mode.

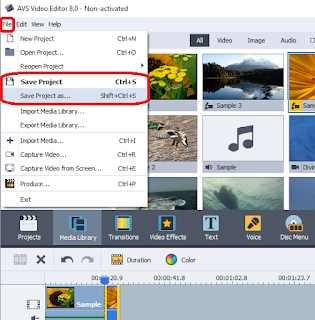
- Step 6: Edit the created video and produce DVD or other video file
When you finish capturing video, press the Exit
button in AVS Video Recorder
bottom right corner to return to AVS
Video Editor. You will find your
captured video in the Video
category of the Media Library:

Follow this link to find the detailed instructions on how to produce your video into a video format.

Follow this link to find the detailed instructions on how to produce your video into a video format.


This comment has been removed by the author.
ReplyDelete